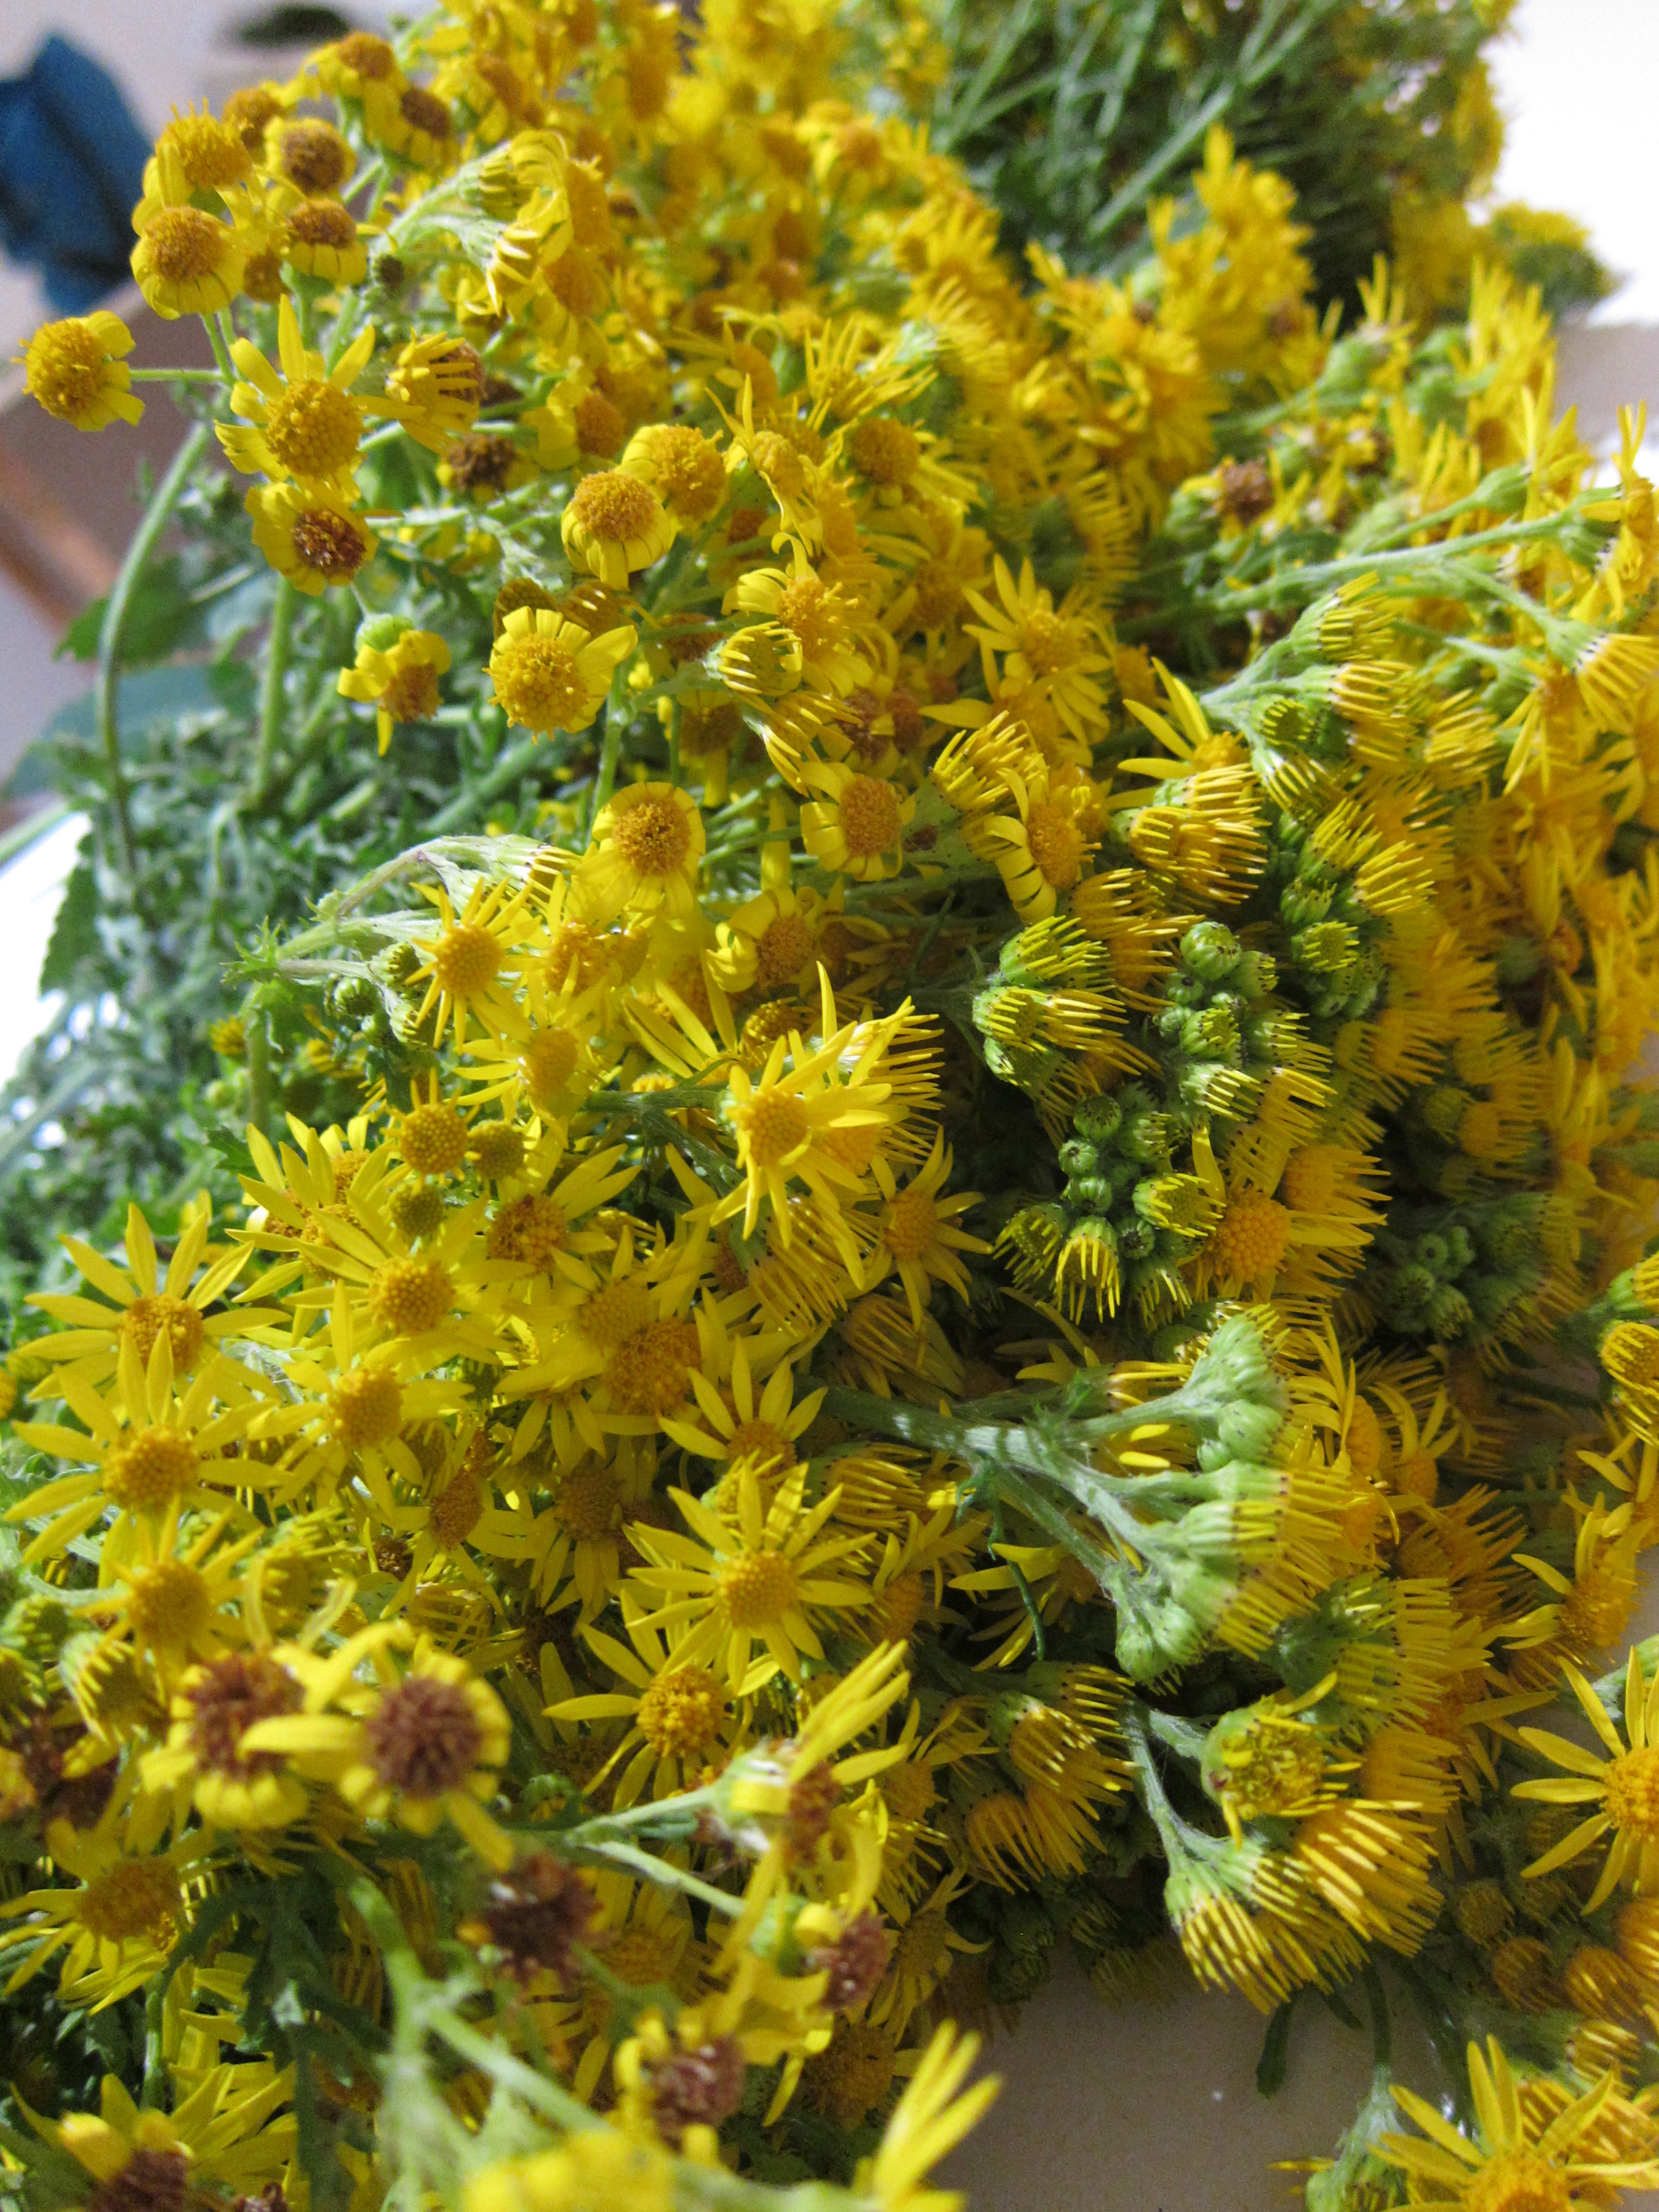
I’ve just spent a lovely weekend rummaging around in hedges, picking up plants and leaves, but not for my usual food foraging, but for plant dyeing. The weekend course was run at my usual textile haunt up in Newburgh. Alison did her wonderful lunches catering to a variety of dietary needs, including a locally made gluten free bread, which is actually proper bread, and tasty! I really should take a picture of the lunches sometime, a wonderful buffet banquet 🙂 India provides a mix of words, teaching and practical work. We start by centering ourselves and making mixed poems with words and sentences we’ve all shared as a group.

We made a Tsunobukuro bag out of silk to hold our finished scarf in. The circles stitched on it are a mix of merino and silk knit and were cut out of the wool/silk knit tube that we were given. The bag is roughly translated as ‘horned bag’ because of the ‘ears’ or ‘horns’ that form the handles. There’s some lovely antique ones here .
 The lovely kit we were given; loose weave silk (which made the bag), silk and merino blend knit tube and a mix of different threads, little silk squares (to sew onto our bag) and silk threads, to embroider lines, words, or whatever came to us from our walks.
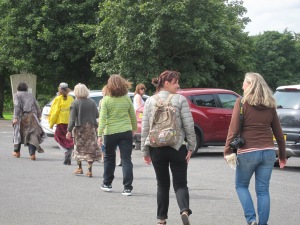 India leading her ducklings to the park on a foraging mission.
 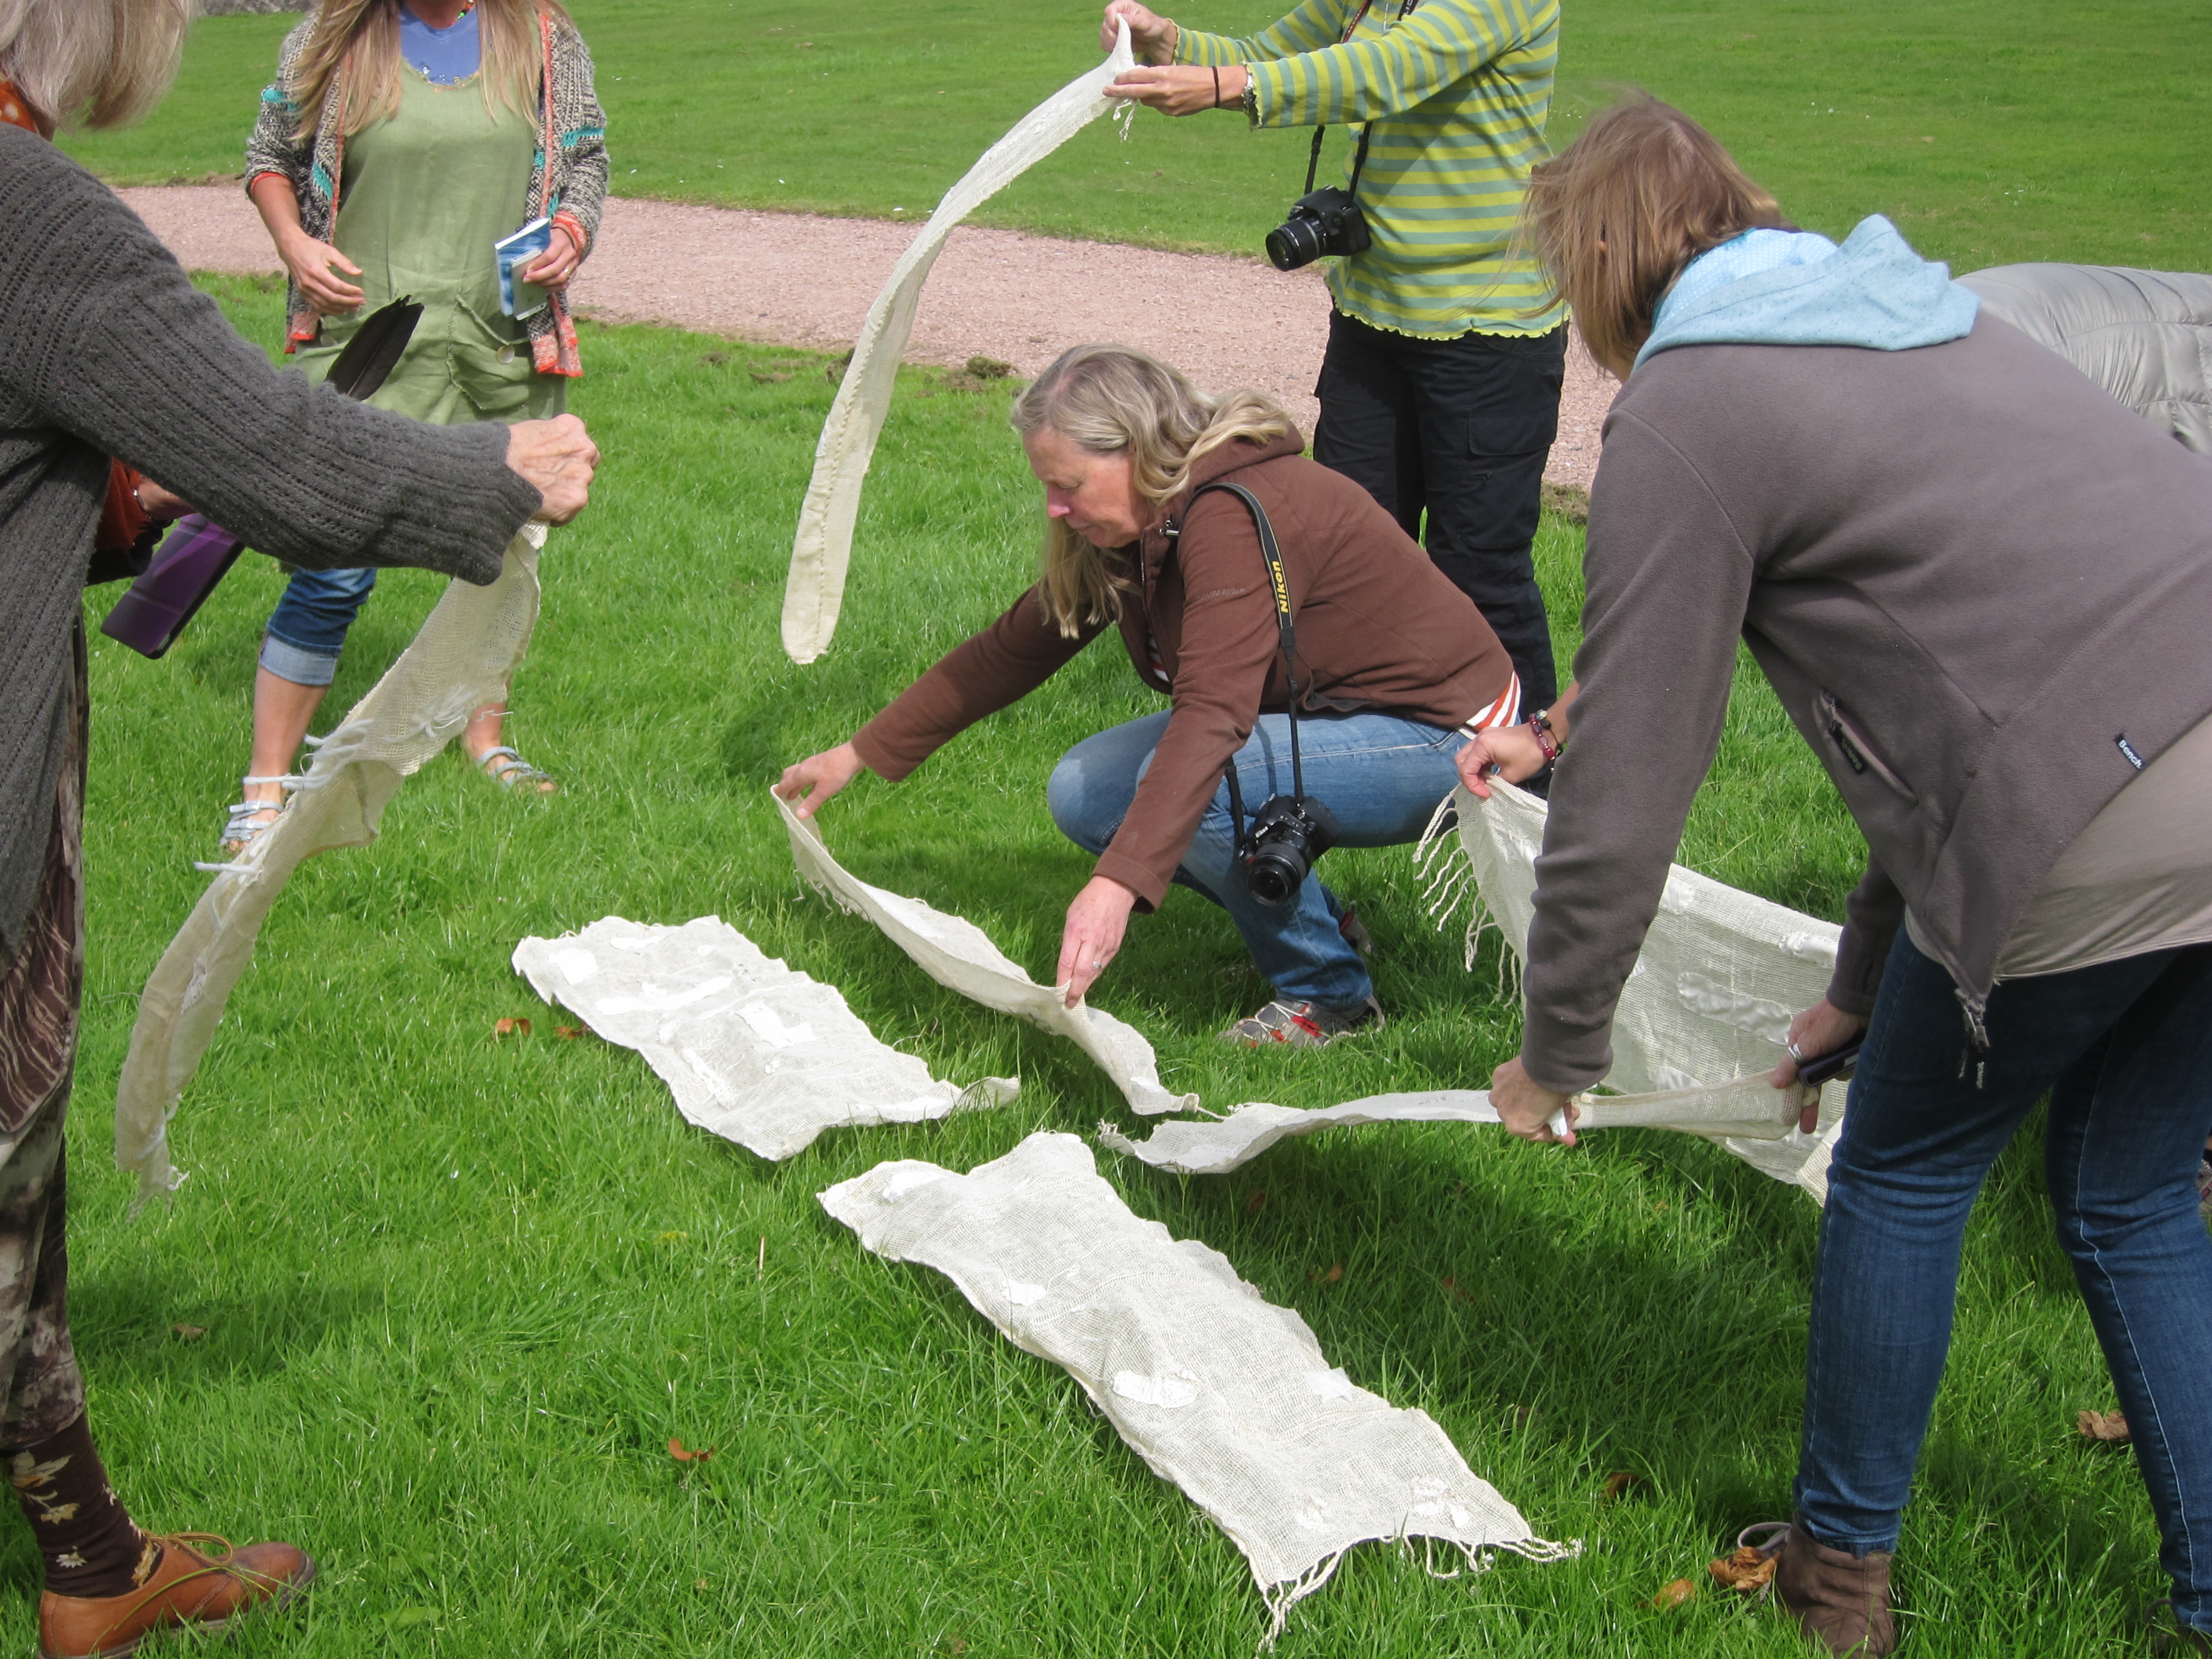 Our embroidered silks decorating the local park
Once we’d collected some leaves we went down to the river where we daubed and decorated the would- be bags with oozing, thick, silky river mud. It took me some time to realise why all the bags smelt of brine – duh! that would be the estuarine river mud…

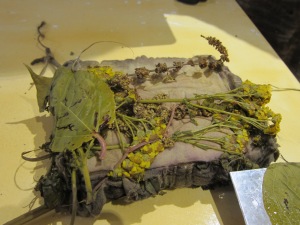
when we came back we folded the silk in half lengthwise and then folding from the middle outwards, we folded into either squares or triangles. Plant material was sandwiched between the folds and the top and bottom ‘clamped’ with aluminium squares and wrapped up in string or twine. India was great and gave us each a pair of the metal square to take away with us. The bundles were put in a a dye bath with windfall leaves, tea bags, onion skins and a mix of whatever we hadn’t used up.
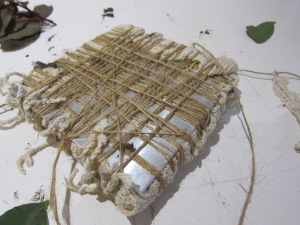 Bundle ready to go in to dye bath
 just put in
The bundles were left to boil for 20 mins and then simmered gently before being turned off. It’s important not to lift the lid and let the steam out as it’s doing the work.


The bundles were left to drain and cool before being tentatively opened. It’s like unwrapping a present, never sure what will work. In general the rose family gave good prints – Rose, Raspberry leaves, Bramble leaves, Rowan, Meadowsweet, Whitebeam, though I didn’t have too much luck with my Potentilla. The dark headed grass, and Buddleia gave very good results – not ones I had chosen, that’s what’s great about sharing experiences in a class or group, I get to learn from all the others too.

 Rowan leaving an imprint
 Yellow from Buddleia
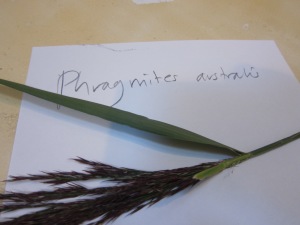
 Nice colour from the reeds.
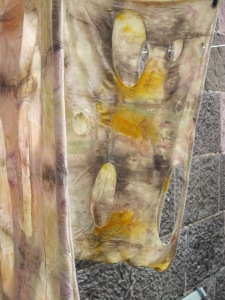
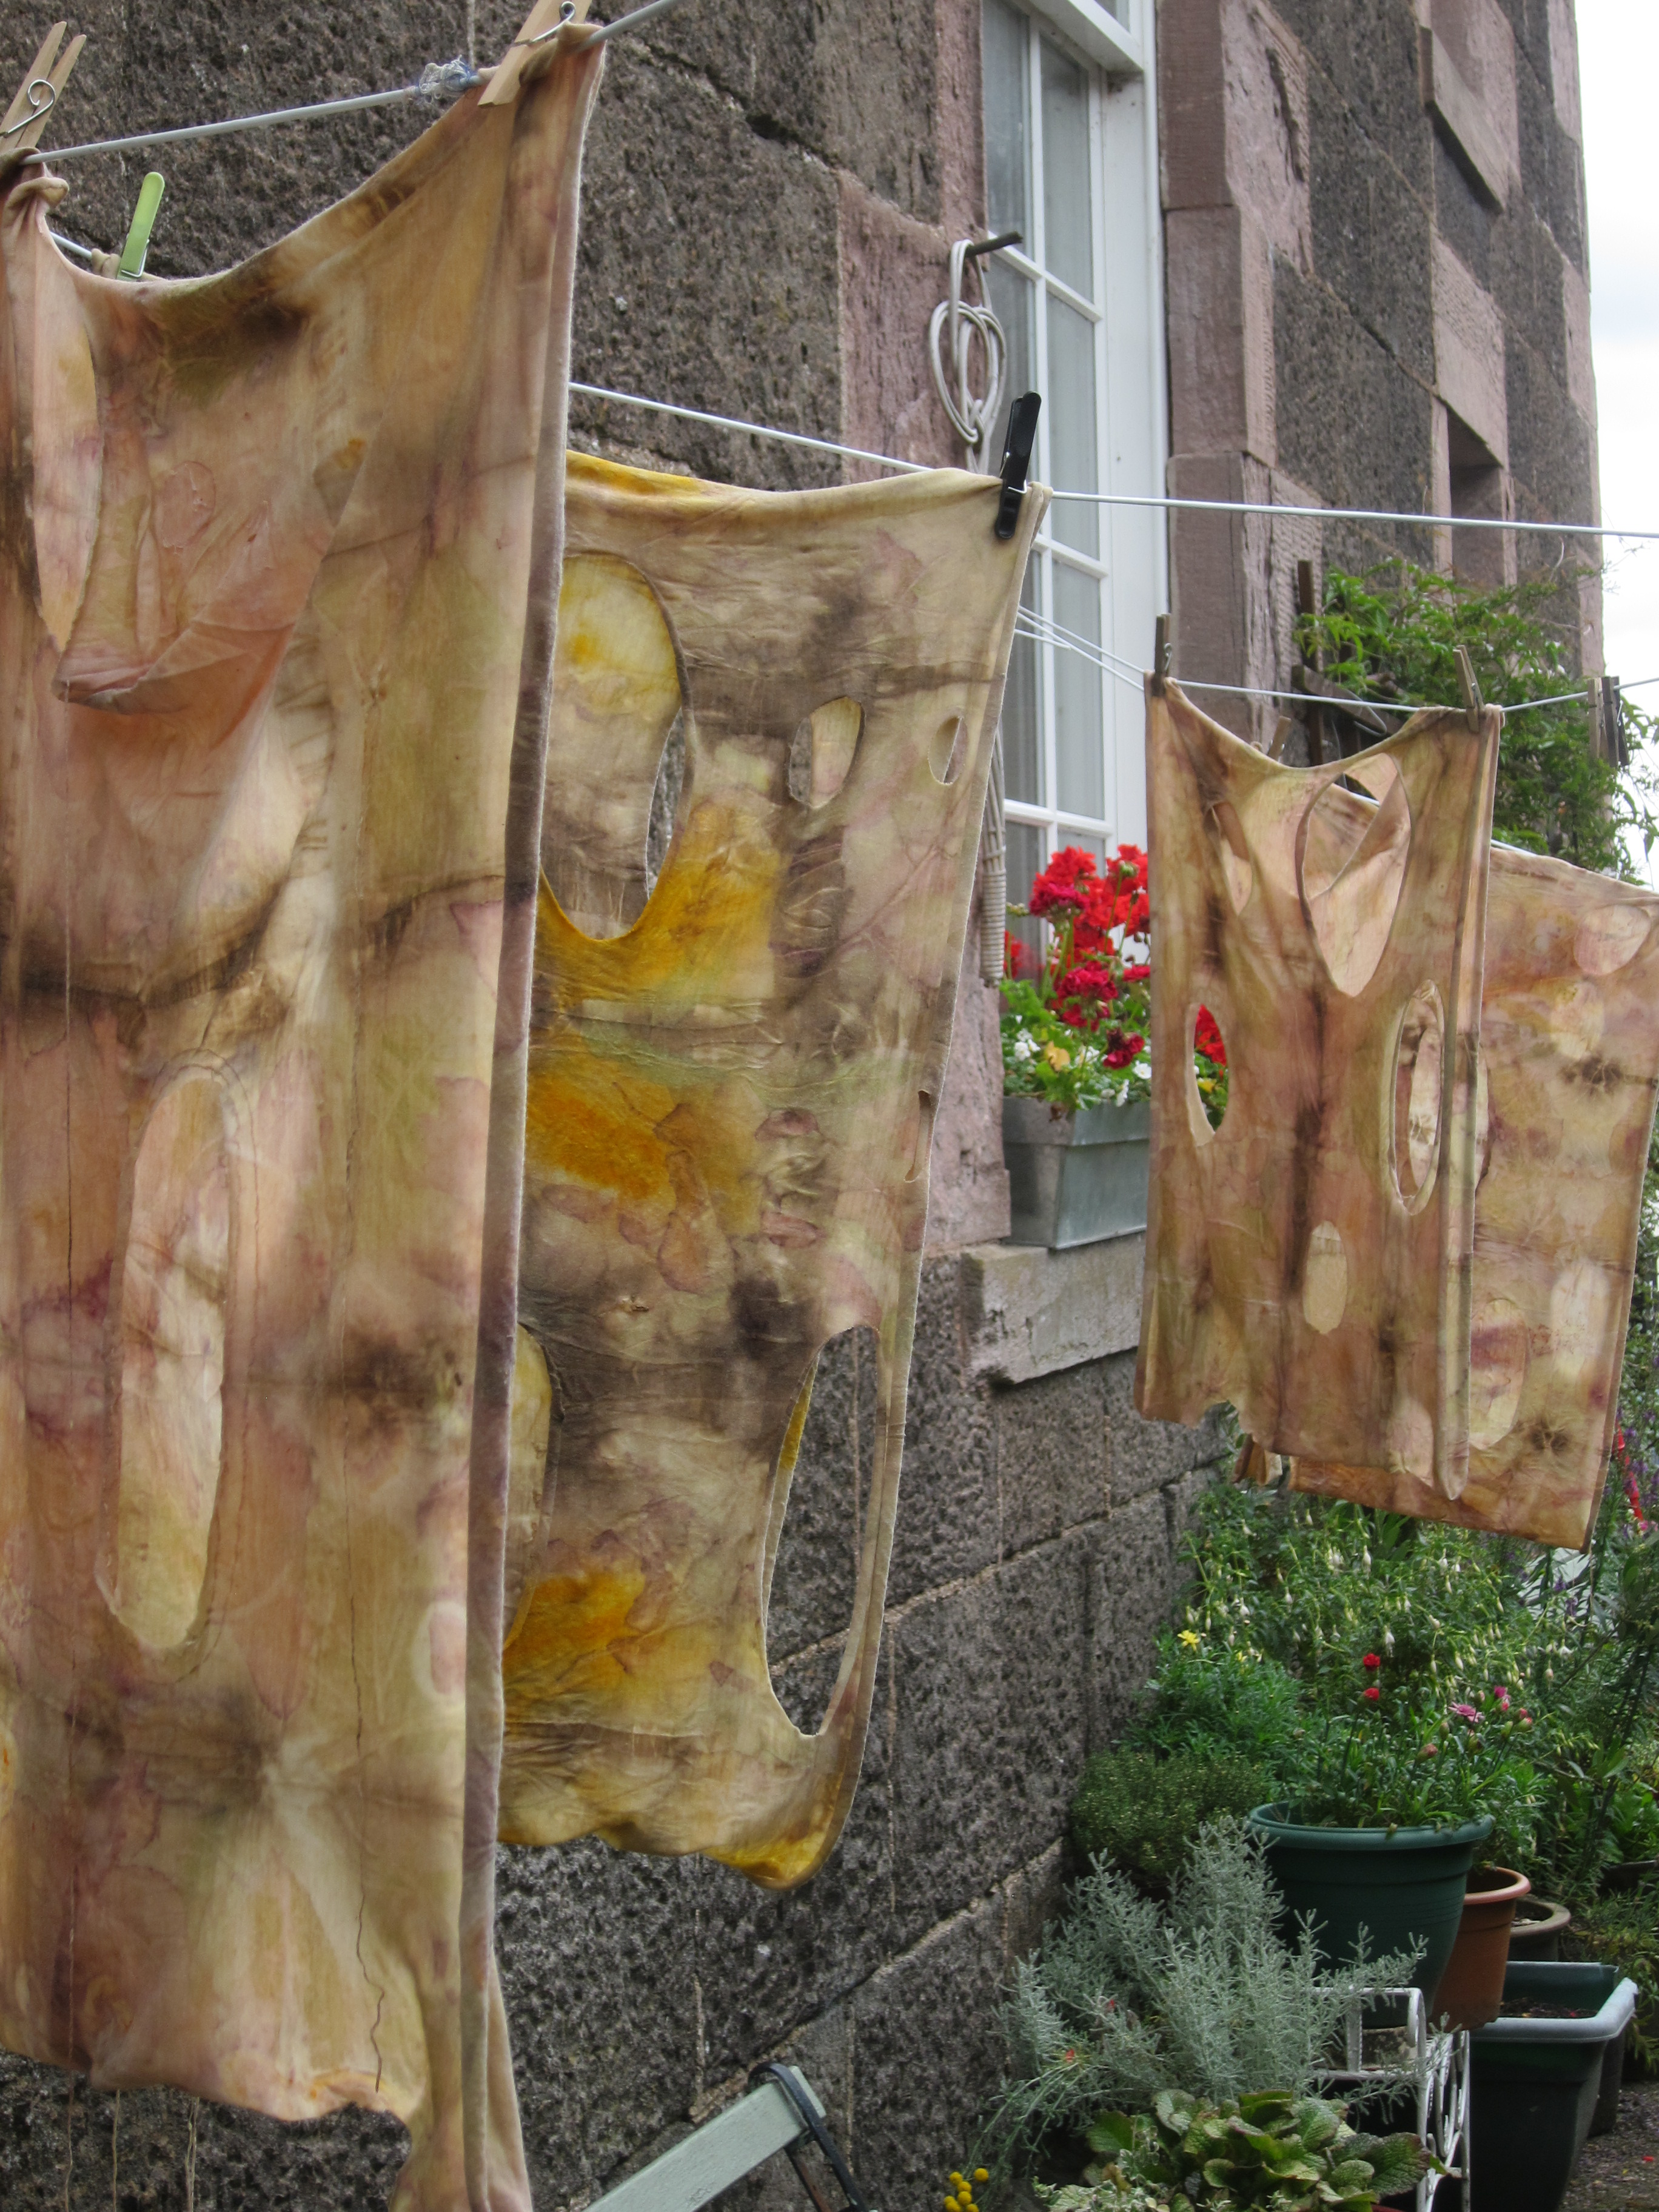 Holey scarves hanging out to dry
I made the holes that we cut in the actual tube scarf too large and plan to sew most of them up again but I can see that it gives a good effect. They can also be used as armholes to create vests/ tank tops! No pics of those as mine looked very strange – I’ll see how it looks after some more stitching before I post a picture of it 😉
We also experimented dyeing threads and using water from different sources, in different pots and vats (one aluminium, the other a nice wee ‘jeely pan’, brass jelly pan for those not familiar with the term ‘jeely pan’.) This was very useful for me as I’ve got several different pans to cook up my dye baths in, but I’d forgotten how crucial the water component can be. Rain water, stream, or loch water is good – try not to use tap water, the water there had a surprisingly high pH (10!) and smelt chloriney. This will definitely affect the colours coming through as we want it to be fairly acidic for the animal fibres to open up their scales and take up the dye.
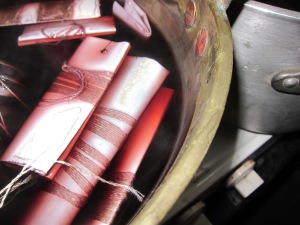 Berberis berries (black ones) in brass jelly pan, threads wrapped round paper and left to steep.
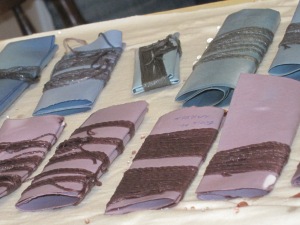 Threads drying, blue from Berberis in aluminium pan and different water.
 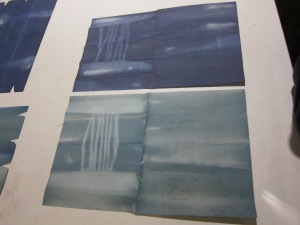 Paper from threads, unwrapped and drying. Stronger colour was thought to be from higher Kaolin content in that paper.
Miscellaneous other pictures below – took about 100 in just 2 days! You’ll be relieved to hear this is just a sample of them 🙂 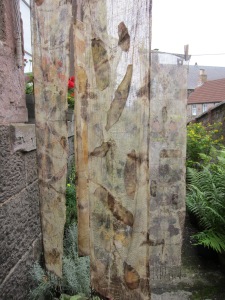 unmade bags drying
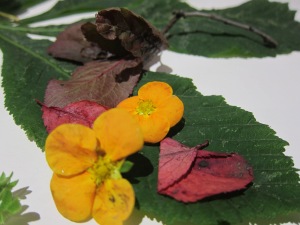
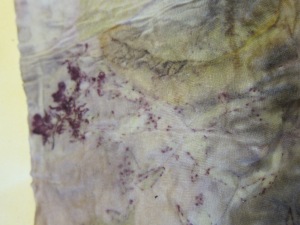 St John’s Wort leaving small red dots, almost like stitches, the cluster of red is where the flower head was
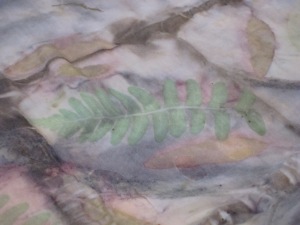 Maiden hair(?) Fern – you could even see where the spores were!